Loaded down with three guys & luggage for said three guys, my old Bird was sagging pretty bad. I didn’t notice just how bad she was sagging until I eased over a speed bump and drug my purdy stainless exhaust. I was, lets say, a little bothered. On the bright side stuff is stuff and that’s life. I did realize that I needed shocks. So being the awesome humble stud I am, I ordered some Monroe Air Shocks and put those bad boys on. And here is how it went.
The thing I like about this kit is that it is made in the Old US of A. Also its a pretty simple install. The hardest part is making sure you have all the tools you need.
Which are:
9/16 inch socket
1/2 inch socket
ratchet + extension
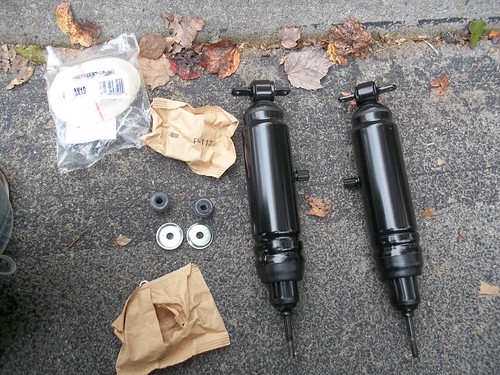
The Shocks (obviously)
A drill With bits of Varying sizes but big enough to drill a hole for the “T” fitting.
& zip ties the kit comes with (a type of air line fastener but i like my zip ties so mehhh)
The Kit comes with every thing needed to install (nuts bolts bushings etc)
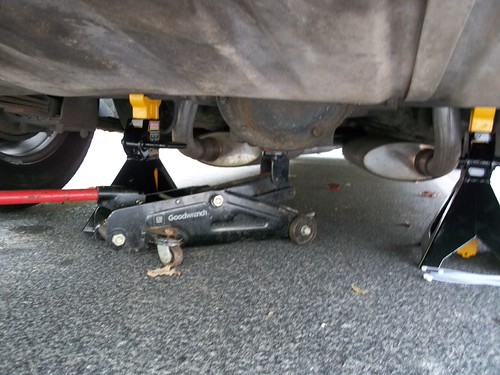
First safely lift the car in to the air so that the tires are no longer touching the ground. The Lug nuts should be loosened while car is on the ground as well. I lifted the by jacking the rear end up and adding jack stand to both sides. Be sure to be well read up on your safe vehicle lifting, bad things can happen, such as squished hand, foot, finger, throat, head….. so be careful
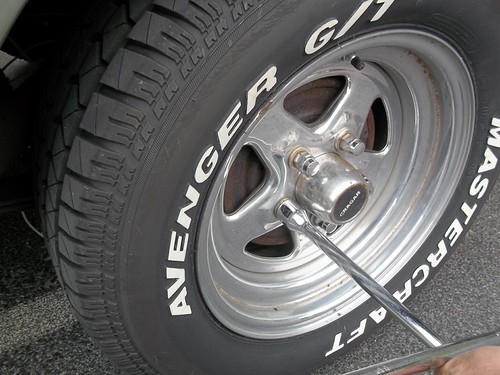
Next step remove the wheel on the side you will be first working on. Might want to leave the other wheel on for now, just in case some thing fails and the vehicle comes of the stands.
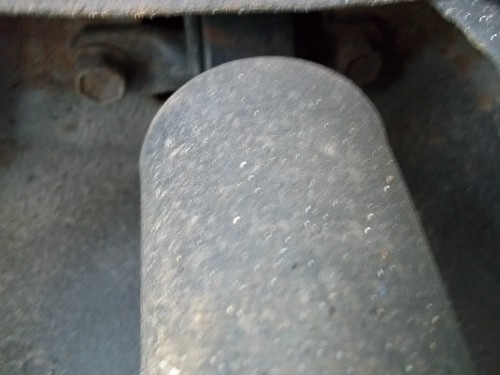
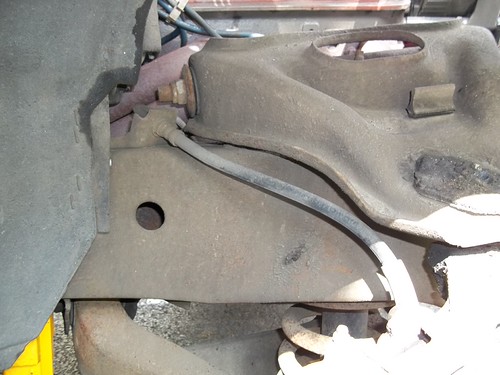
Now that the wheel is off inspect the shock end out where the bolts are at, on mine there were three. One on the bottom and two up at the top.
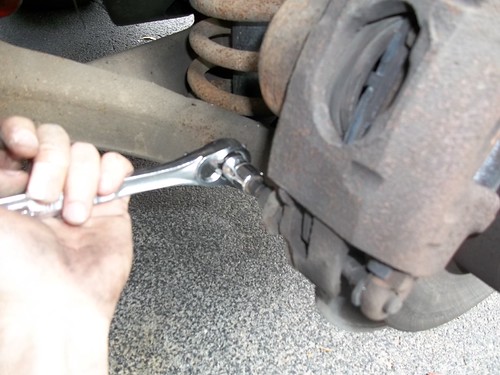
Start to loosen the three fasteners. Two bolts one nut. I started at the bottom and worked up. Note the shock started to turn with the ratchet, so
had to hold the shock body while I loosened the nut.
Bottom Nut:

Top two bolts:
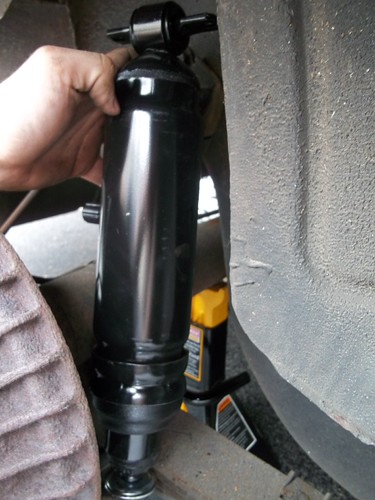
After all three bolts, and nut are off, time to install the new shock. Once again I worked my way up from the bottom. Sliding the bushing seat on first then the busing. The bushings have little flanges on one side that fit into the mounting hole. Make sure they are angled correctly. Then the 2nd bushing & seat followed by the nut

Next slightly tighten the nut so that the shock is secure, but not tight. Now Pull the shock up to meet with the following bolt holes and insert the last two bolts.
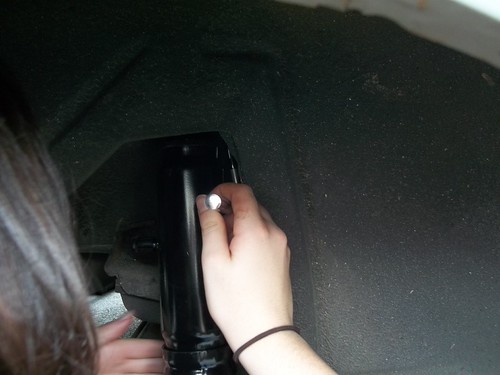
Now place the air hose connector on the line with the threads facing the shock and insert the plastic hose into the shock, making the hose go into the o-ring in the shock.
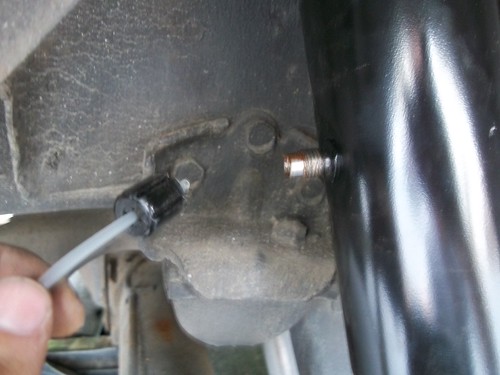
Now safely replace wheel & tire and repeat on the other side.
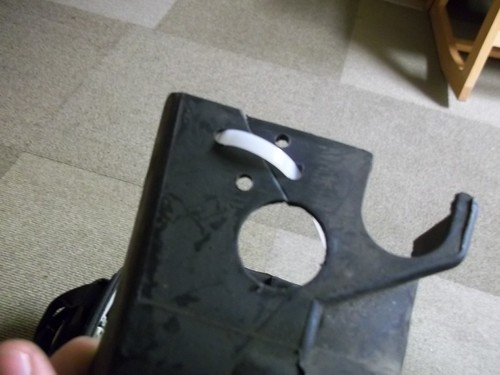
Its Air line running time. First off you’re gonna need to find a spot to mount the inlet T-fitting. On another car I choose to put the fitting on a vacant bolt hole on the under side of the bumper. This time how ever I opted for the trunk just below the deck lid latch mechanism.

When you figure out a place to mount the T Fitting, its time to run the air line. I ran mine around the gas tank, doing my best to keep them away from the exhaust pipe and any areas that it could possibly get pinched. Also metal gas tanks have a nice little ledge on that is great for holding and hiding the air line.

Next step is to get the line to the location were the T fitting is gonna be. Since I chose to do the trunk I have to Fish the lines up past the gas filler neck.
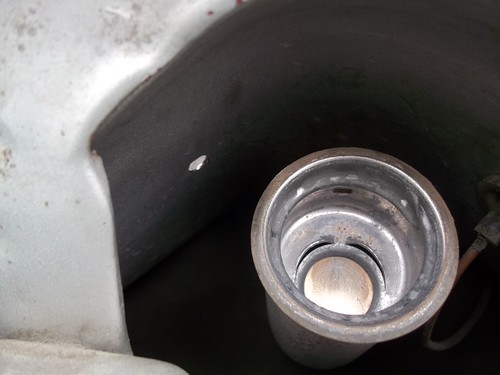
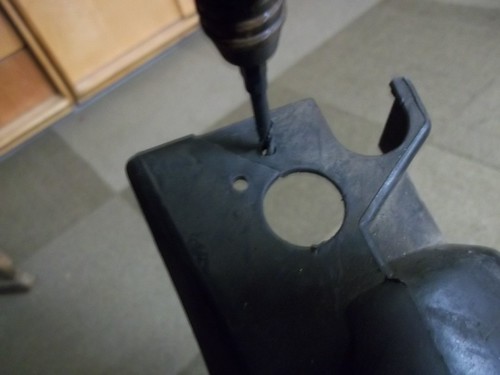
Drill a hole to fit the T fitting into.
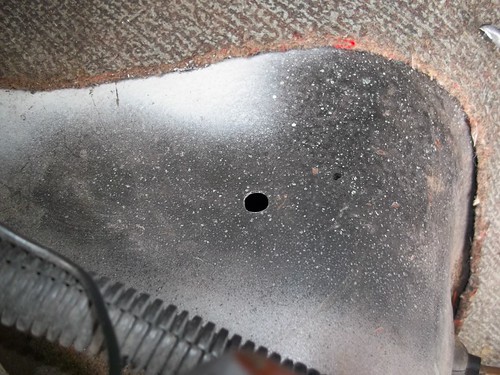
Now Cut lines to appropriate length
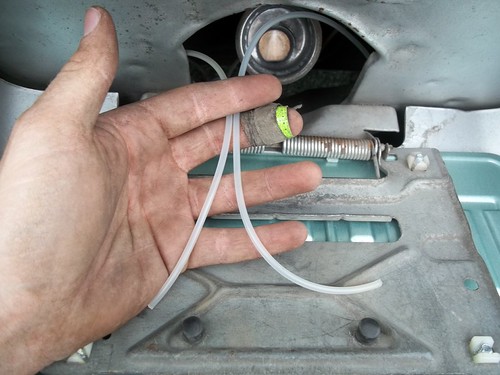
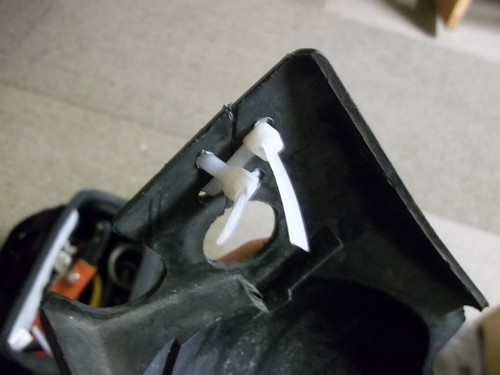
Then attach line to the fitting, just like what was done on the shock itself.
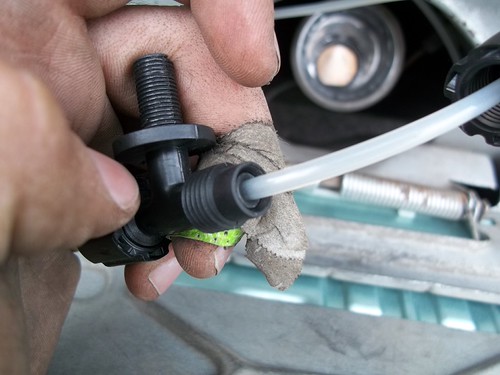
With the lines attached push fitting up through the hole and apply the supplied holding nut and valve cap.
Safely let the car down off the jack/stands/ or fancy lift, and add air to the system via air compressor. Check the directions for minimum and maximum psi numbers, and constantly check the psi with a tire pressure gauge. With that said I have yet to do that, after I did the job I had to dart to class and later stopped at a gas station and put air in the shocks till it looked good. haha. I’m going check it though so no worries.
Under view:
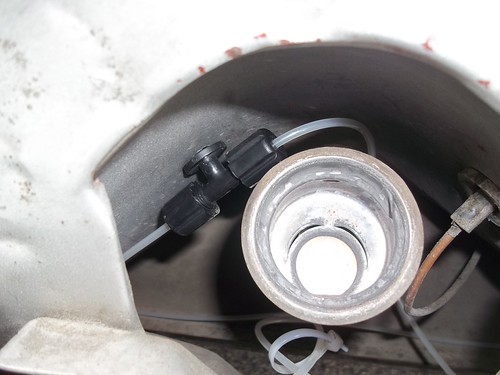
Trunk View: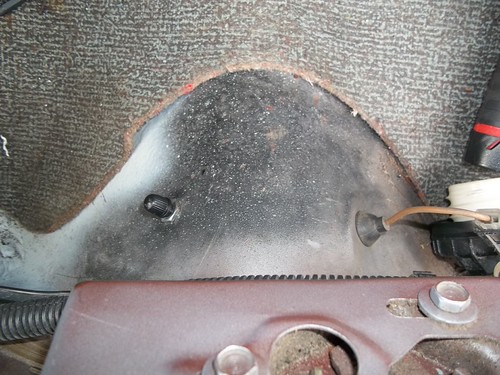
Now that that’s done you can cruze to town with that old school raised back end look.
####
Hows my driving? Questions/Comments? Did I leave helpful information out? Leave a comment and I’ll do my best to reply. Thanks
-Primed Example
October 4, 2012
Categories: Rocket Surgery . . Author: primedexample . Comments: 1 Comment



 .
.








 PrimedExample